GRBL 3d wire bender, Part 2: Generic wiring

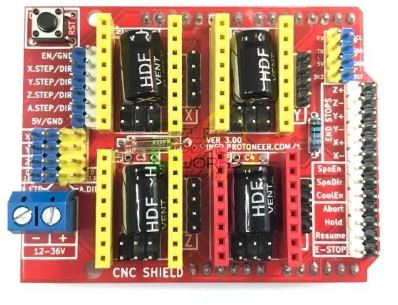
For the wire bender project I’m using a standard GRBL cnc shield on an Arduino Uno, Fairly standard stuff, that I had around.

GRBL CNC Shield

The servo motors are pretty simple hookup, with them plugging directly into the CNC, and adjusting the voltage similar to the instructions on http://www.zyltech.com/arduino-cnc-shield-instructions/.

1) Double check the power input polarity (“+” and “-“)

2) Be aware of the orientation of stepper drivers. Please note the potentiometer (pot) on A4988 and DRV8825 are at the opposite side​. If you are using the DRV8825 like I am, the pot goes next to the “CNC SHIELD” writing.

3) Adjust the max current, by adjusting the Vref

Max current = Vref x 2

Reference voltage is adjusted with a small screwdriver at the point indicated with the white arrow in the picture to the right. We suggest adjusting the reference voltage in small increments – no more than a quarter turn at a time. For a starting point, you may set the max current to 1A. If the motor over heats, reduce the Vref. If the motor does not move or miss steps, increase the Vref.

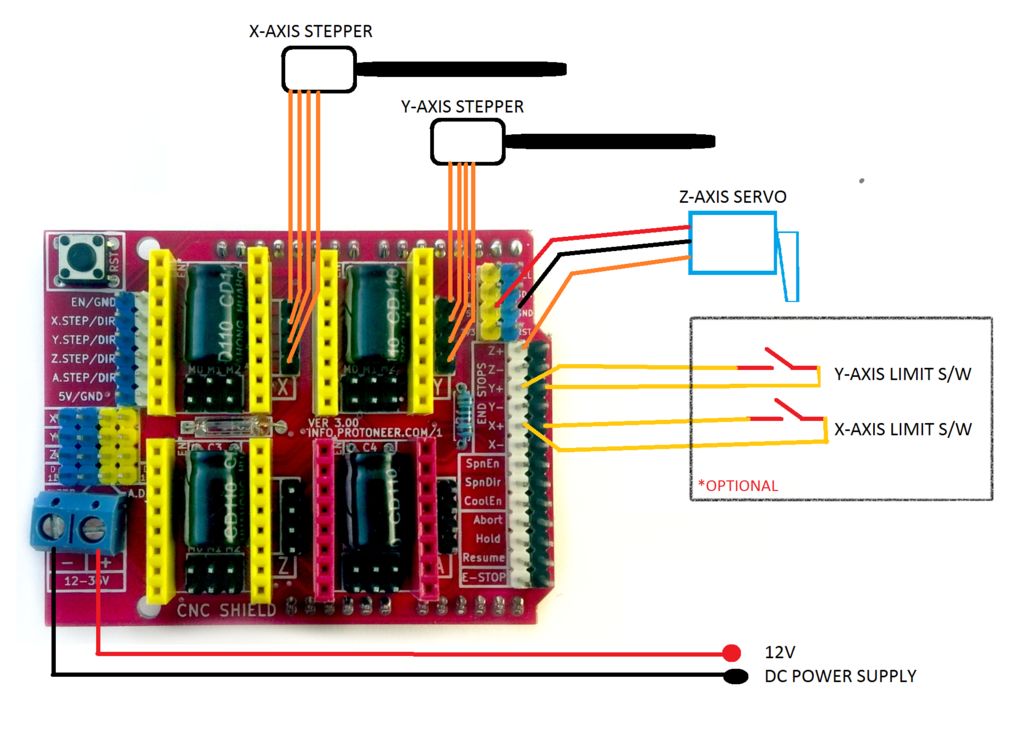
4) Plug in the X, Y and Z axis.

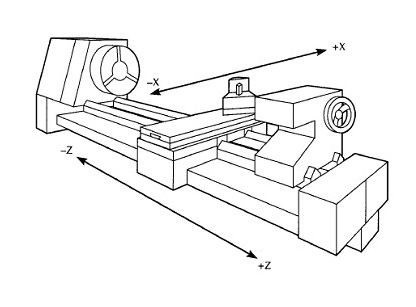
remember X is the rotation, Z is the feeder, and Y centrifugal motor. If you are rotating in the wrong direction, flip them around.

5) connect the limit switches, these are used to set the rotation of the X and Y axis. There is no Z limit switch

6) Connect the Servo Motor. Split the connector apart using a pocket knife or something similar, and put the yellow wire in the Z+, the red goes to the +5v, and the black to GND.

YAY… all of the wiring is done, onto the software to test things…

Updating GRBL, or any other Arduino Library in Windows

So GRBL that ships with Arduino is version 0.9. I needed version 1.1, Here’s a simple plan to update it.

Removing the old library

  1. Exit the Arduino IDE
  2. Goto C:\Program Files (x86)\Arduino\libraries on windows
  3. delete the folder for GRBL if you see it there..
  4. if it’s not there, it’s in your user folder at C:\Users\[your user name]\Documents\Arduino\libraries
  5. delete the folder for GRBL there.

Adding the new library

  1. Exit the Arduino IDE
  2. Goto C:\Users\[your user name]\Documents\Arduino\libraries
  3. copy the grbl folder into there.
  4. Restart your Arduino IDE

GRBL 3d wire bender, Part 1 Overview

I’ve been working on a 3d wire bender to make some springs, as I need them to be right, the first time, and every time after that.

First thing I did is look at a bunch of tutorials. So far not a one is perfect, but it’s got enough stuff to make a go at it.

My idea is to set the device as a GCode unit, with the X being the rotation, the Y being the 2nd rotation axis, and the Z being the feed, similar to a Lathe.

Typical Lathe axis

in my case, it’s going to be a bit different as the machine has to look like this.

Image is courtesy of https://howtomechatronics.com/projects/arduino-3d-wire-bending-machine/

The Z axis rotates the bender unit around the wire, and the bender unit puts a crimp in it, which is running on the X axis. This leaves the feeder unit, which is basically a MIG wire welder feeder, but tied to a stepper motor so it can be moved out a specific distance as the Y axis.

The only odd thing is the pin at the end has to be able to push on both sides of the wire, so it has to be able to be raised and lowered on ether side of the existing bend. I’m going to use a servo to do this.