So the rubber in the discovery is 23 years old (happy birthday?) and it’s time to replace most of it. The rubber is old and cracked, sometimes even in half.
I’ve gone out and gotten new urethane bushings, which should help quite a bit. They of course are yellow to match the truck. Installing them turned out to be quite the annoyance, until I found out the trick.
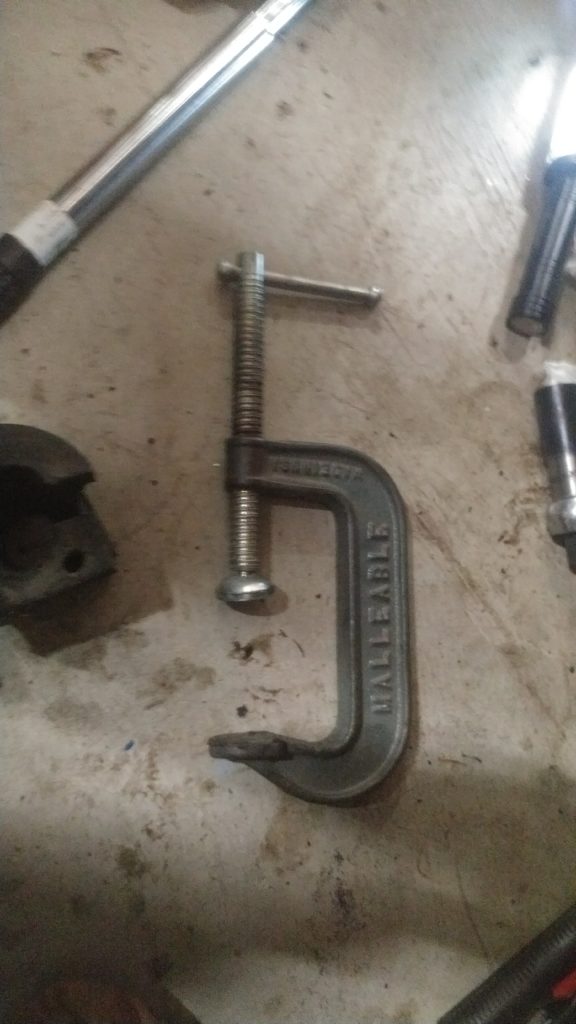
One big giant c clamp. The trick is to take the bushing, add lots of lube (in the form of synthetic axle grease and then stick the first bolt in, barely tight, but enough to grab over the retainer, and then use the c-clamp to the the side of the bushing to crush into the spot. I used the c-clamp on the side where the bushing is split, and then tightened the clamp down until the retainer touched the metal. Then I could tighten the other side.
add in the pile of tools, and the installation becomes easy.
I was working on replacing the hoses and thermometers on my disco, and I could not find any data on the differences over time for the thermometers. So I’ve put together some information.
The left thermometer is the stock one that was installed in 1996 in my truck. the right is the replacement part (etc4765). The changes are that It looks like the actual heater coil got bigger, and got fins on it. so it can soak up heat faster. The closer spring diameter is thicker, wound the other way, and has less turns. There is a bypass to equalize the pressure between both sides of the thermometer, and the stamping to retain the thermometer changed a bit. The diameter is the same, and I’ve put a standard socket to show size.
The gasket is fairly normal, so I’ll skip over that.
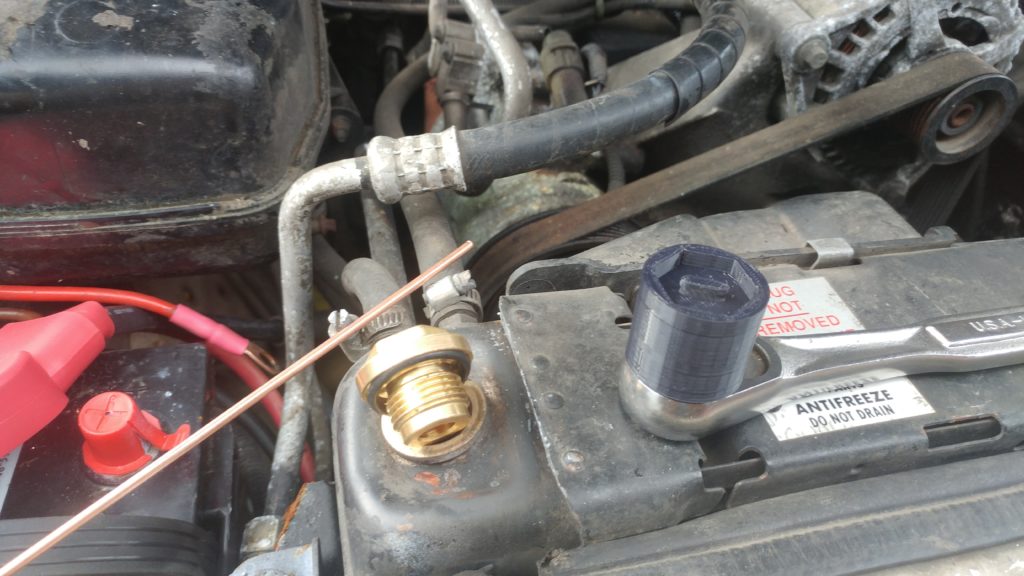
The filler neck I had developed some weeping holes, so I re-welded it, machined it and then gave it a good shot of paint. There is a bung here that could be used to add an external temperature sensor such as a ACDelco 213-77, or 15326386. The casting lines still showed, and that spot for the temperature sensor was not flat, so in a flury of dramatic OCD-ness, I fixed them.
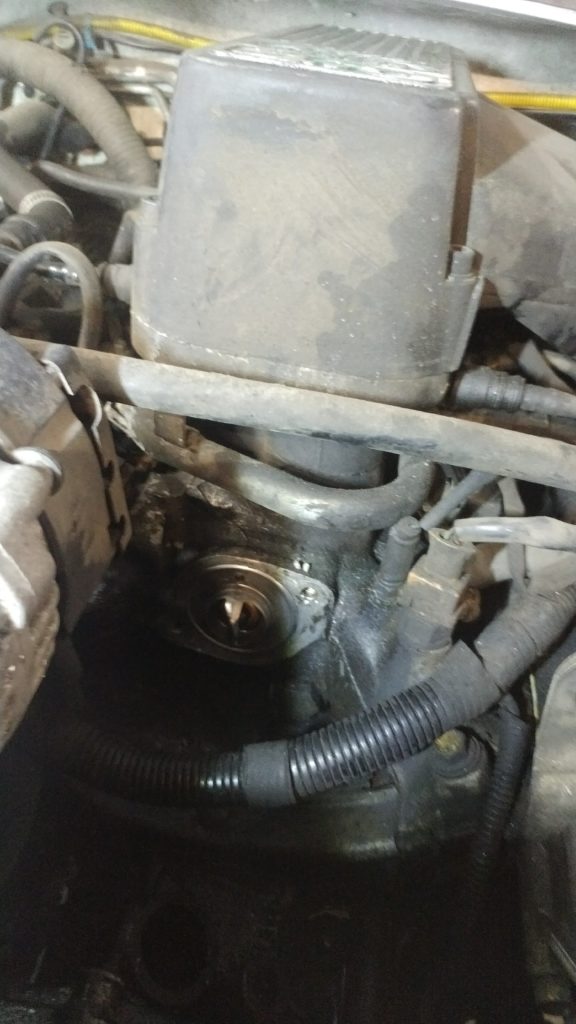
The actual install is fairly straight forward, and it’s located underneath the intake runner, towards the front. right of the alternator from the front of the truck. The spigot curves up and to the left.
So the fill cap on the Discovery’s really need a special wrench, which is ok because normally you don’t have to empty it that often. My truck never had a flush, since I bought it, and it had questionable service from some of the owners, it was about time. I used an adjustable wrench, the plastic radiator cap basically disintegrates. This was not a great idea.
Being that it’s 22 years old, it splits in the most annoying method possible, laterally. So I message it out with a screwdriver, a hammer and a chisel, straight into the radiator, not too bad, in that I can drain the radiator to get that out.
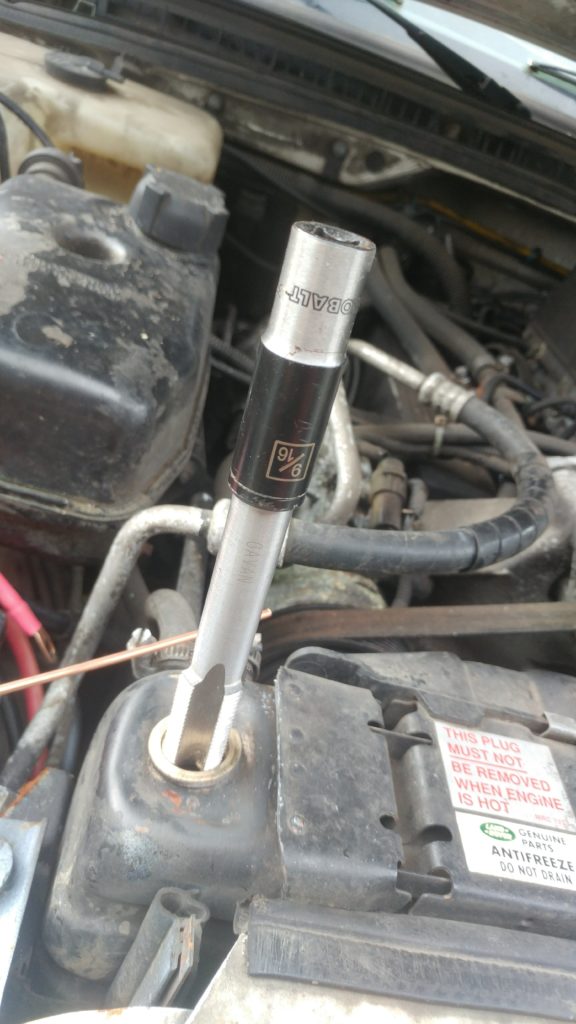
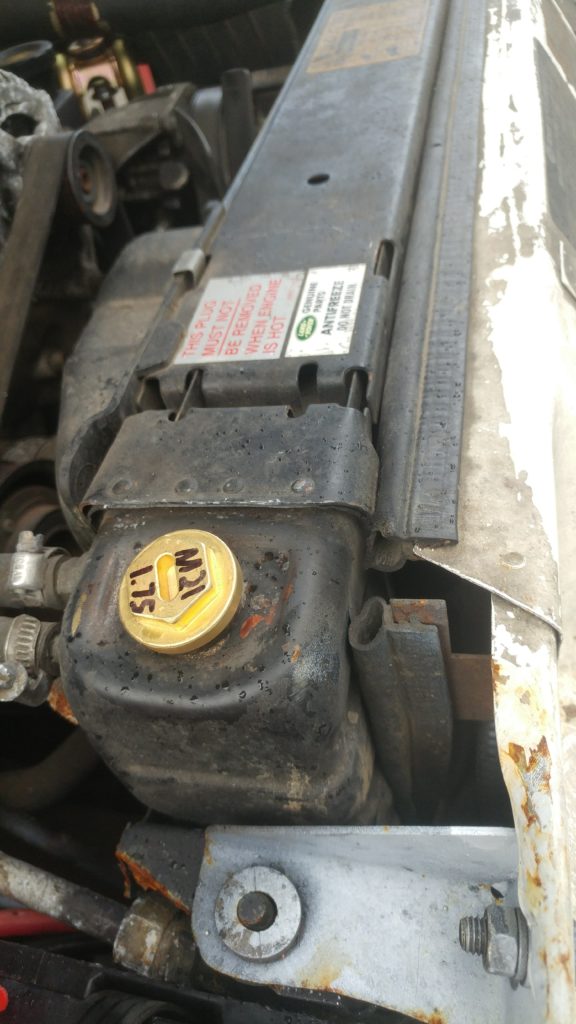
Atlantic British sells a brass replacement part (ERR4686B, $3.95) so after filling back in the brass with some filler rod, filing the neck down flat, and retapping the hole using a 21 x1.75mm tap and a 12 point 9/16 socket, the replacement fits in.
I did 3d print the special socket to screw the cap in this time, and installed the plug. The print is available on thingverse
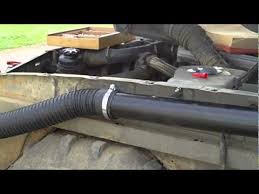
In this whole process, the bottom hose broke, which is an odd design, which looks like the picture below, which was liberated from some auto parts seller who intern liberated it from the manufacturer.
I should redo it out of regular hose, but it’s only 22 bucks. It would be nice to add some features, like a coolant heater, and a drain plug. It could be made of a 45 degree copper fitting with two adapters soldered on, which would allow for a drain plug. Things left:
Things Completed:
New Transmission
New suspension, shocks, shock towers, etc
New Battery off a Ford F350 diesel
Things Left:
Steering leaks, Steering dampener, Sway bar links and hydraulic updates
Radios inside and out (2 din upgrade, external antenna, ham and CB radios
GPS, cameras, etc.
Other random stuff as it decides 22 years is enough.
I gave up on fixing the transmission on the Land Rover, and finally asked for help from Todd over at Columbia Rovers.
He got Jose on it right away, and Jose found a completely severed transmission shaft. After a marathon transmission pulling session, I got the transmission out of my parts truck and to Todd the next day. I really have to get a two post lift like they have. Jose then promptly hooked the new transmission up and drove it onto my trailer. I did not have all of the parking, swaybars, brakes, shocks, etc hooked up enough to drive it home.
This is the first time I’ve driven it in a long time. Feels really good.
This phase of the project is done.. Now for the “new” ARB bumper, and tightening everything down. I’m hoping to have it ready for the next meeting.
I’ve been trying to figure out how to put a decent looking snorkel on my discovery. I love the look of the mantec, and the way it reuses the stock air box
and the way it enters into the body, and runs along the inside of the fender
but the connection idea I am not a fan.
It takes the space where the 2nd battery is going.
Then I found an aussie snorkel, a SAFARI SNORKEL DISCOVERY 1 300TDi LHS, and that plate that comes out the side of the stock airbox solved my issue.
So I went and visited a friend of mine to get some brackets cut out, and got the snorkel welded together. I’m calling it the weston snorkel.