GRBL 3d wire bender, Part 5 : The hardware build

The actual hardware build consists of several parts

  1. The wire spool holder
  2. The wire straighteners
  3. The feeder unit
  4. The rotational axis
  5. Our favorite robot: bender

The wire spool holder

The wire spool holder is dependent on what your wire comes in. If your wire is flat piano wire, you can skip the whole feeder mechanism, and straightening parts. Normally though you buy it in a roll. A typical  304 Stainless Steel Wire comes in a 1/4 lb coil and a 1 lb coil. You can also get it on a spool, but don’t expect that.

The way I’ve dealt with this a 4″ long 1/2″ diameter bolt, with a T nut on one side, and locking nut on the other, mounted vertically. The wire simply drops on.

The wire straighteners

In order to get the bend correct, first the wire has to be straight. The straighteners do this by running the wire though a series of rollers. There is two sets, a vertical and a horizontal set, made of a combination of bolts, bearings and 3d printed parts.

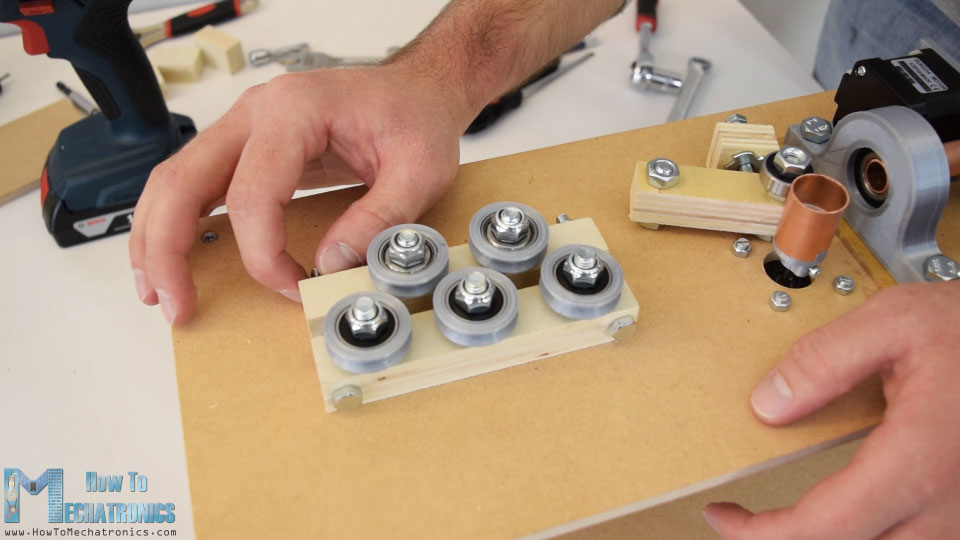
A typical example is shown here, image thanks to HowToMechantronics.com. His files work great, and are available here: https://howtomechatronics.com/projects/arduino-3d-wire-bending-machine/

The Feeder Unit

My feeder unit is based on a MIG feed roller, and a bearing as designed by jiripraus. The instructions are here: https://www.instructables.com/id/Spring-Making-Wire-Bending-Machine/
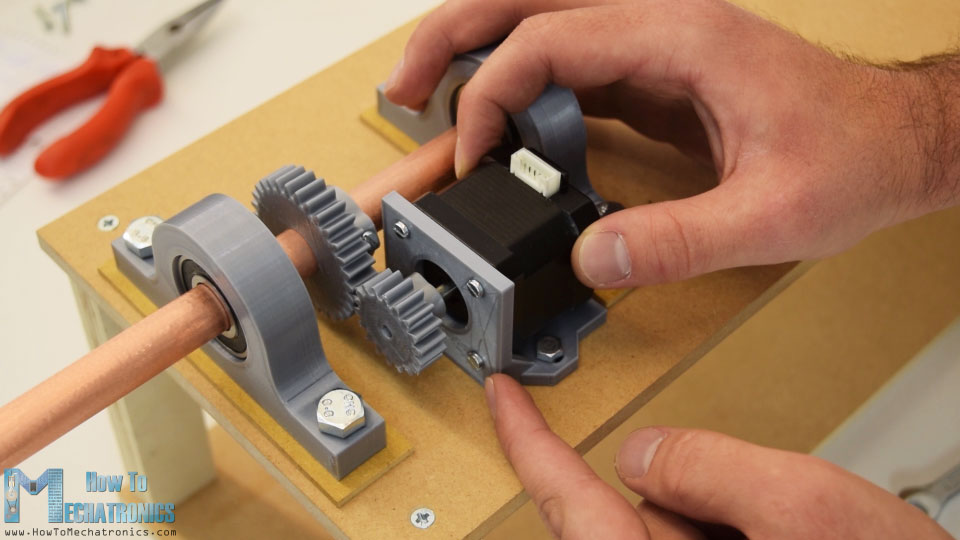
The Rotational Axis

The rotational axis is based on a photograph rod, and some 3d printed parts. I am relying on https://howtomechatronics.com/projects/arduino-3d-wire-bending-machine/ for these.
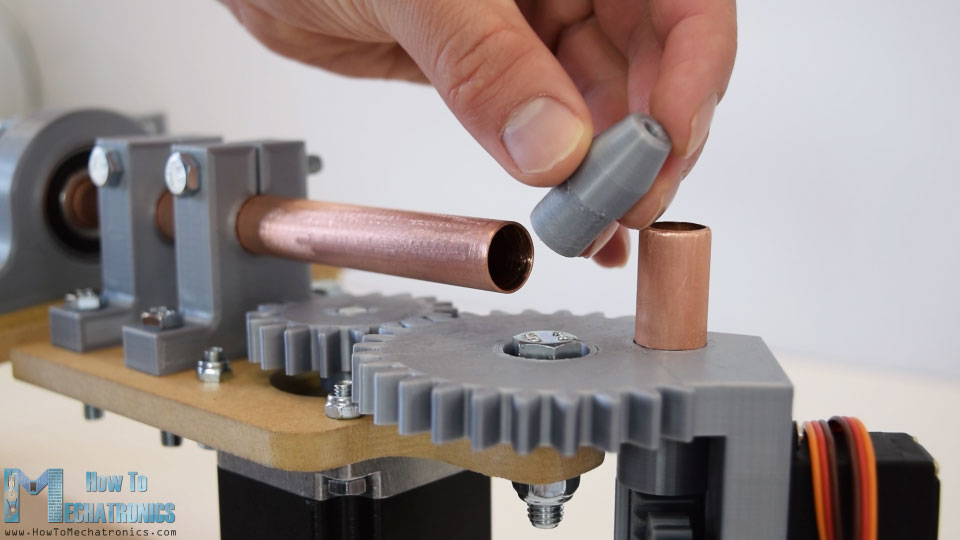
The Bender Unit

For now my bender unit is based on Mechatronics version, however I expect this to be reworked quickly. The link is here: https://howtomechatronics.com/projects/arduino-3d-wire-bending-machine/

So now that we have version 1.0 up and running. I’ve got to go program some springs…

GRBL 3d wire bender, Part 4 : The Controller software

Although you can use the Serial Monitor in the Arduino IDE for testing the install of GRBL by opening the serial port at 115200 baud, I wanted something a little cooler to do that with, so here’s some software we can use to make it a lot easier to use. I have DSL still, as I live out in the middle of nowhere, so I’m not going to use something online like Fusion360, or ChilliPepper.

Manually doing stuff

The best lookup document I found is here: http://www.diymachining.com/downloads/GRBL_Settings_Pocket_Guide_Rev_B.pdf

The basic commands are found here: https://github.com/gnea/grbl/wiki/Grbl-v1.1-Commands

You can choose to manually type a bunch of stuff in, and run it… good luck with that.

Controller programs

I’ve so far used GrblPanel, and Universal Gcode Sender. Both have their flaws, but both sorta work.

GrblPanel

GrblPanel has one major flaw. It runs on Windows. I had to borrow a laptop from work to get a copy of windows. It spins the motors, and seems to be pretty good for just moving the motors manually.

You can get your very own copy here: https://github.com/gerritv/Grbl-Panel/releases

Universal Gcode Sender

This is the standard for GRBL that is not too bad. Fairly short learning curve, but you do have to install Java.

You can get your very own copy here: https://winder.github.io/ugs_website/

Raspberry PI CNC

There is one other option which seems like a better one in the long term.. add wifi to the bender using a Raspberry PI. Not sure I’m going to go down this road on this project,, maybe on my 3040 refit, but the link to do it is here: https://wiki.protoneer.co.nz/Raspberry_Pi_CNC_-_Quick_Start_Guide

GRBL 3d wire bender, Part 3 – Embedded software

Being a software programmer, I always want to reuse code, so GRBL makes it easy to do motor control programming, which I’ll cover later.

For our application, we need to rework the PWM pin on the arduino UNO we are using to output the stuff the servo needs to see. Standard GRBL uses this pin for the Z limit switch, so let’s liberate it.

Fortunately someone else has the same issue that we have had, when they were making a pen plotter. Their solution was to create MIGRBL.

Here’s the installation instructions onto our Arduino UNO

  1. download a copy of MIGRBL
  2. Add the library using Sketch -> Include Library -> Add .ZIP Libary
  3. run File->Examples>MIGRBL->grblUpload
  4. compile and upload the code to arduino.

Now we can test it.