The actual hardware build consists of several parts
- The wire spool holder
- The wire straighteners
- The feeder unit
- The rotational axis
- Our favorite robot: bender
The wire spool holder
The wire spool holder is dependent on what your wire comes in. If your wire is flat piano wire, you can skip the whole feeder mechanism, and straightening parts. Normally though you buy it in a roll. A typical 304 Stainless Steel Wire comes in a 1/4 lb coil and a 1 lb coil. You can also get it on a spool, but don’t expect that.
The way I’ve dealt with this a 4″ long 1/2″ diameter bolt, with a T nut on one side, and locking nut on the other, mounted vertically. The wire simply drops on.
The wire straighteners
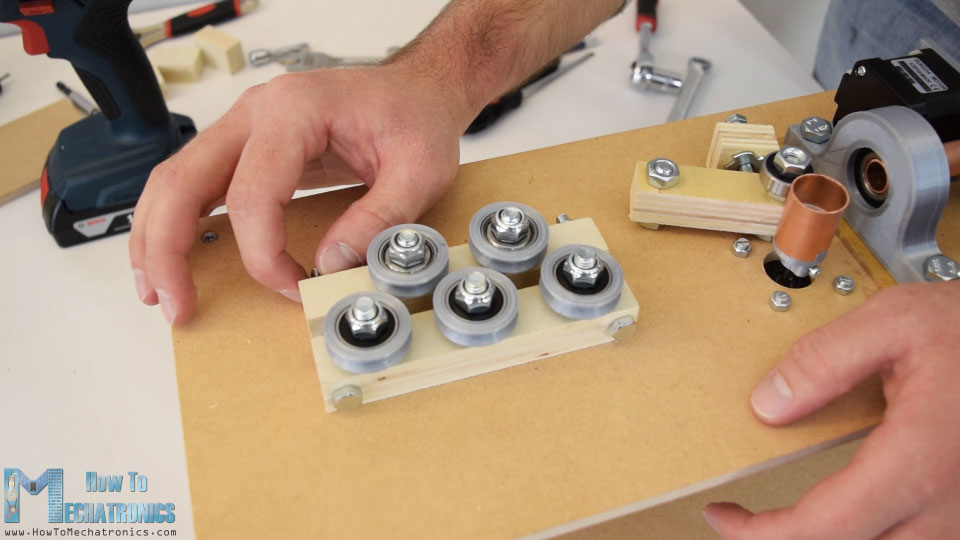
In order to get the bend correct, first the wire has to be straight. The straighteners do this by running the wire though a series of rollers. There is two sets, a vertical and a horizontal set, made of a combination of bolts, bearings and 3d printed parts.

A typical example is shown here, image thanks to HowToMechantronics.com. His files work great, and are available here: https://howtomechatronics.com/projects/arduino-3d-wire-bending-machine/
The Feeder Unit
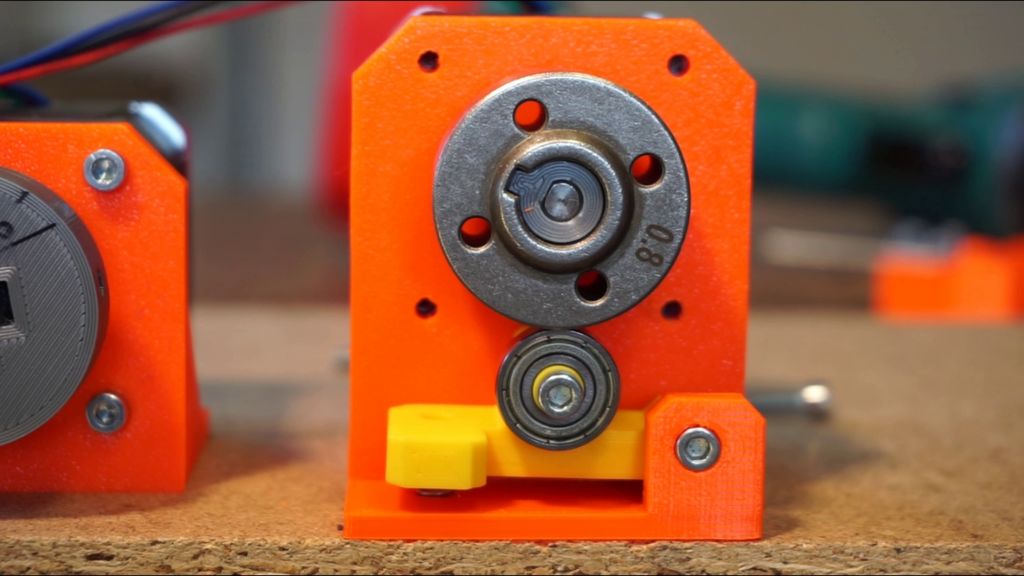
My feeder unit is based on a MIG feed roller, and a bearing as designed by jiripraus. The instructions are here: https://www.instructables.com/id/Spring-Making-Wire-Bending-Machine/

The Rotational Axis
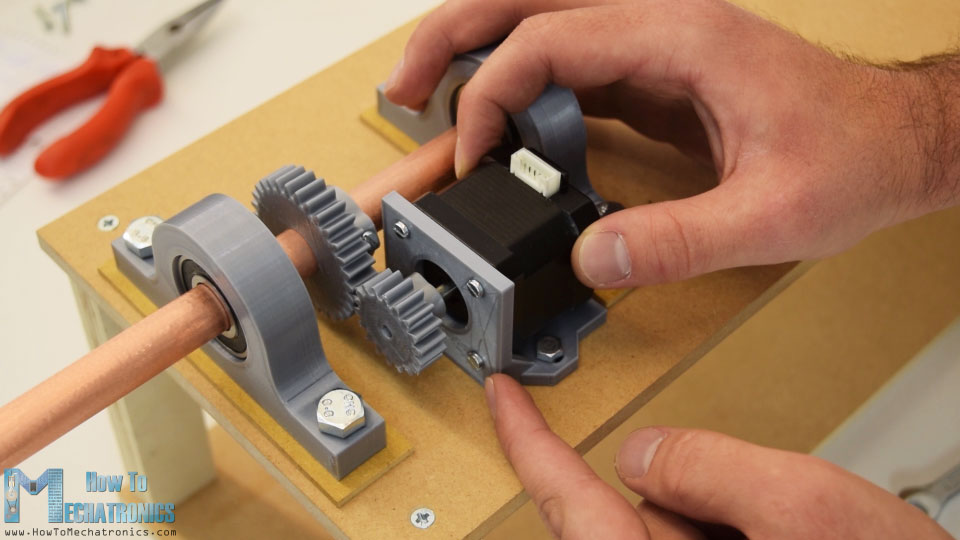
The rotational axis is based on a photograph rod, and some 3d printed parts. I am relying on https://howtomechatronics.com/projects/arduino-3d-wire-bending-machine/ for these.

The Bender Unit
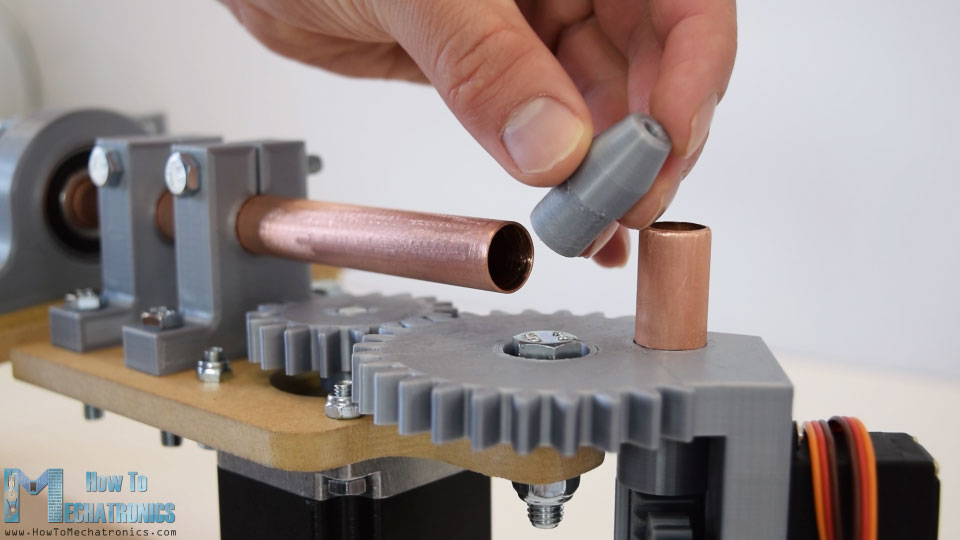
For now my bender unit is based on Mechatronics version, however I expect this to be reworked quickly. The link is here: https://howtomechatronics.com/projects/arduino-3d-wire-bending-machine/

So now that we have version 1.0 up and running. I’ve got to go program some springs…
